A great paint job starts long before the first brush stroke. Proper wall preparation is the secret to a smooth, professional finish that lasts for years. Whether you’re painting a bedroom, kitchen, or hallway in your Louisville home, taking time to prep your walls will save you from peeling, uneven coverage, or costly do-overs.
Here’s a step-by-step guide to getting your walls ready for interior painting.
Step 1: Clear and Protect the Space
Move furniture away from the walls and cover it with drop cloths or plastic sheeting. Protect your floors with canvas drop cloths, which stay in place better than plastic. Remove outlet covers, light switch plates, and wall hangings to give yourself a clean surface to work on.
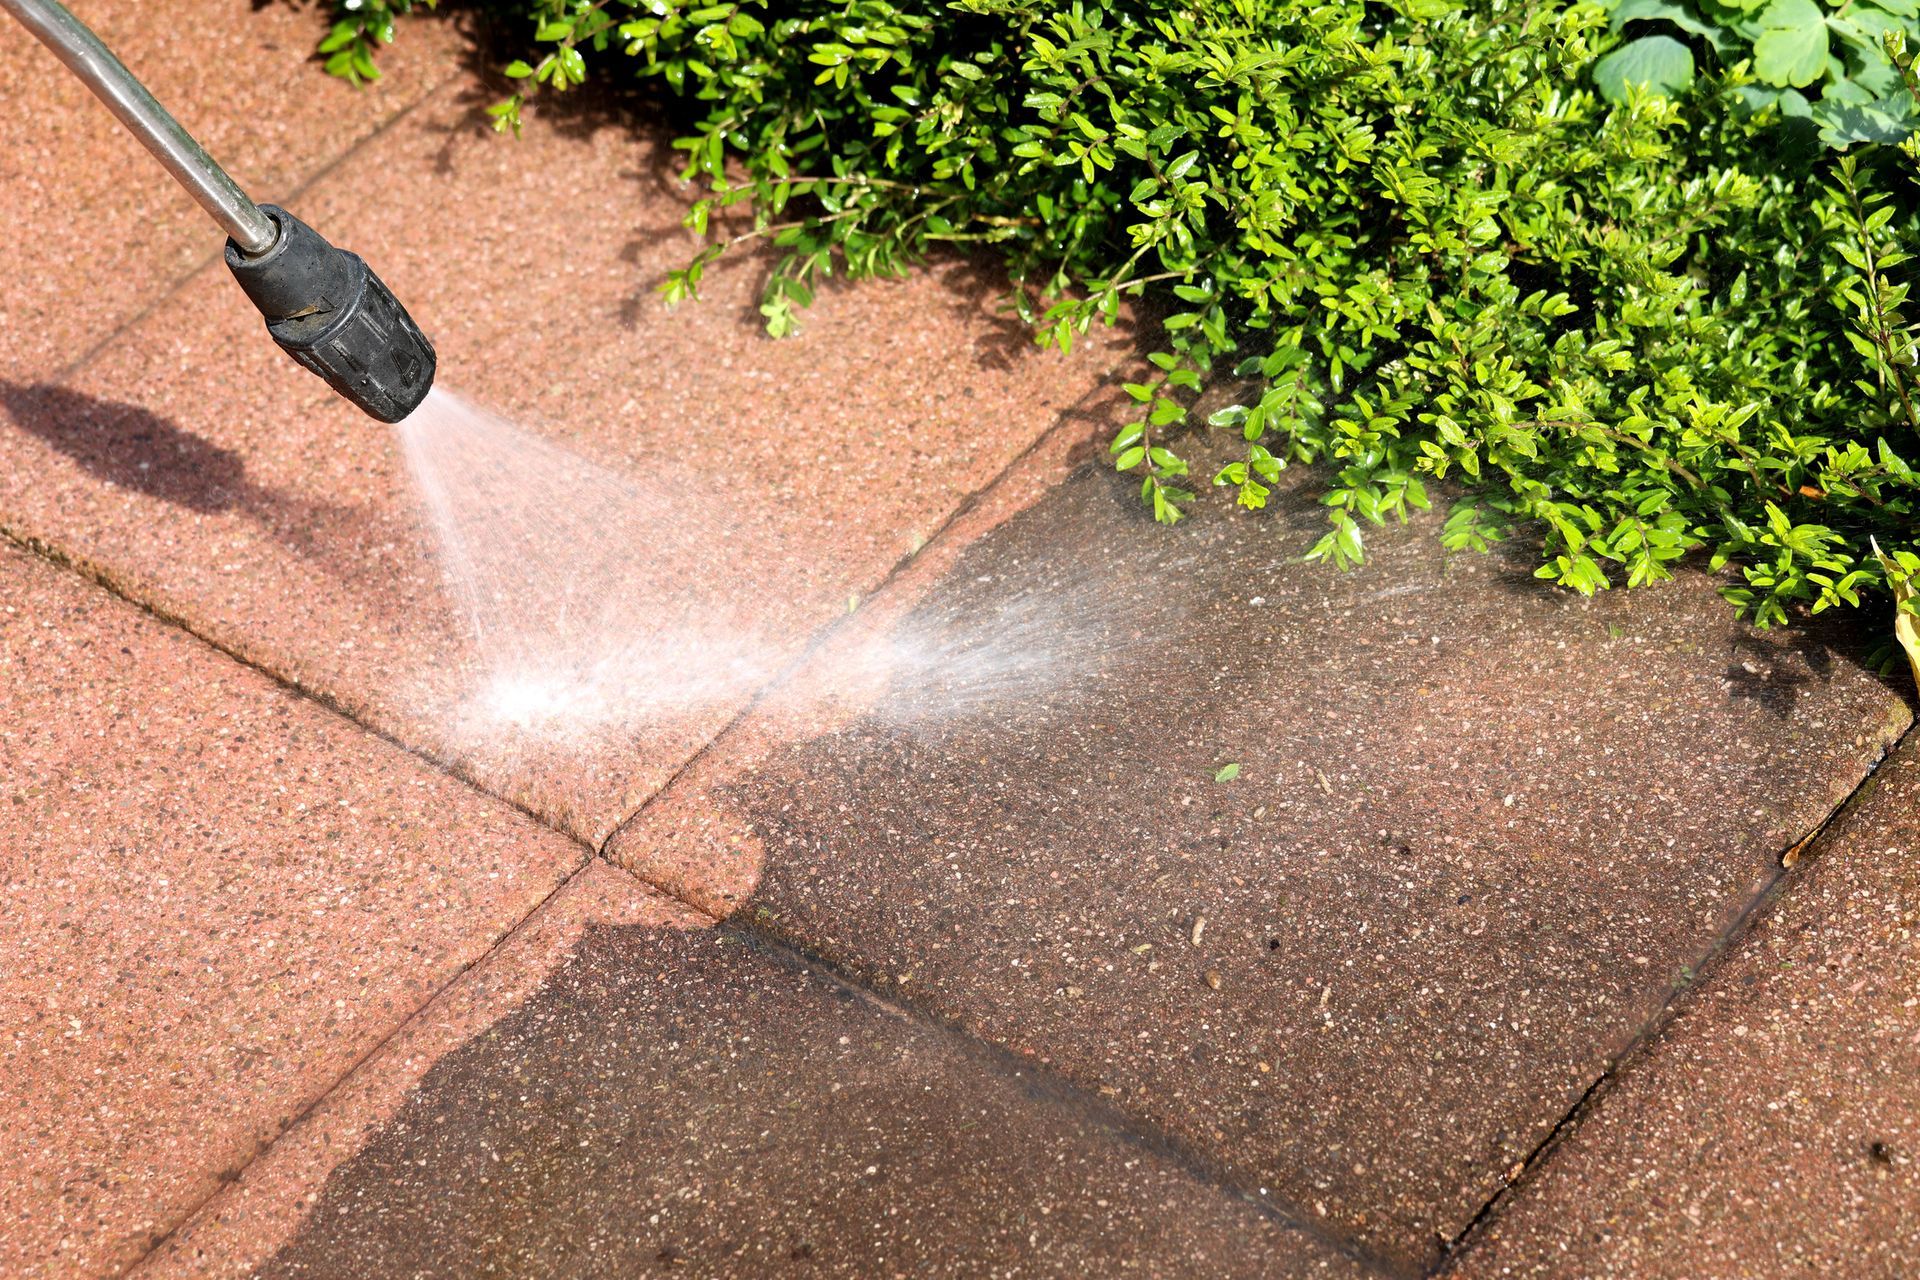
Step 2: Clean the Walls
Even if walls look clean, dust and grease can prevent paint from sticking. Wipe down the surface with a damp sponge and mild soap, especially in kitchens or bathrooms where residue builds up. Allow the walls to dry completely before moving on.
Step 3: Repair Damaged Areas
- Fill nail holes and cracks with spackle or joint compound.
- Sand smooth once the filler dries, blending it into the wall surface.
- Check for peeling paint and scrape it away before sanding.
A smooth surface is essential to achieving that crisp, professional look.
Step 4: Sand and Smooth
Lightly sand the walls with fine-grit sandpaper to remove imperfections and help the paint adhere. Don’t forget to wipe away the dust with a damp cloth or tack cloth.
Step 5: Apply Painter’s Tape
Protect trim, baseboards, and windows with painter’s tape. This step ensures straight, clean edges once you start painting.
Step 6: Prime (When Needed)
If your walls are stained, dark-colored, or patched, primer is a must. A quality primer seals the surface and creates an even base for the topcoat. For rooms with high humidity, like bathrooms, use a stain-blocking or moisture-resistant primer.
Final Step: You’re Ready to Paint!
Now your walls are clean, smooth, and primed. You’re set up for a beautiful, lasting paint job.
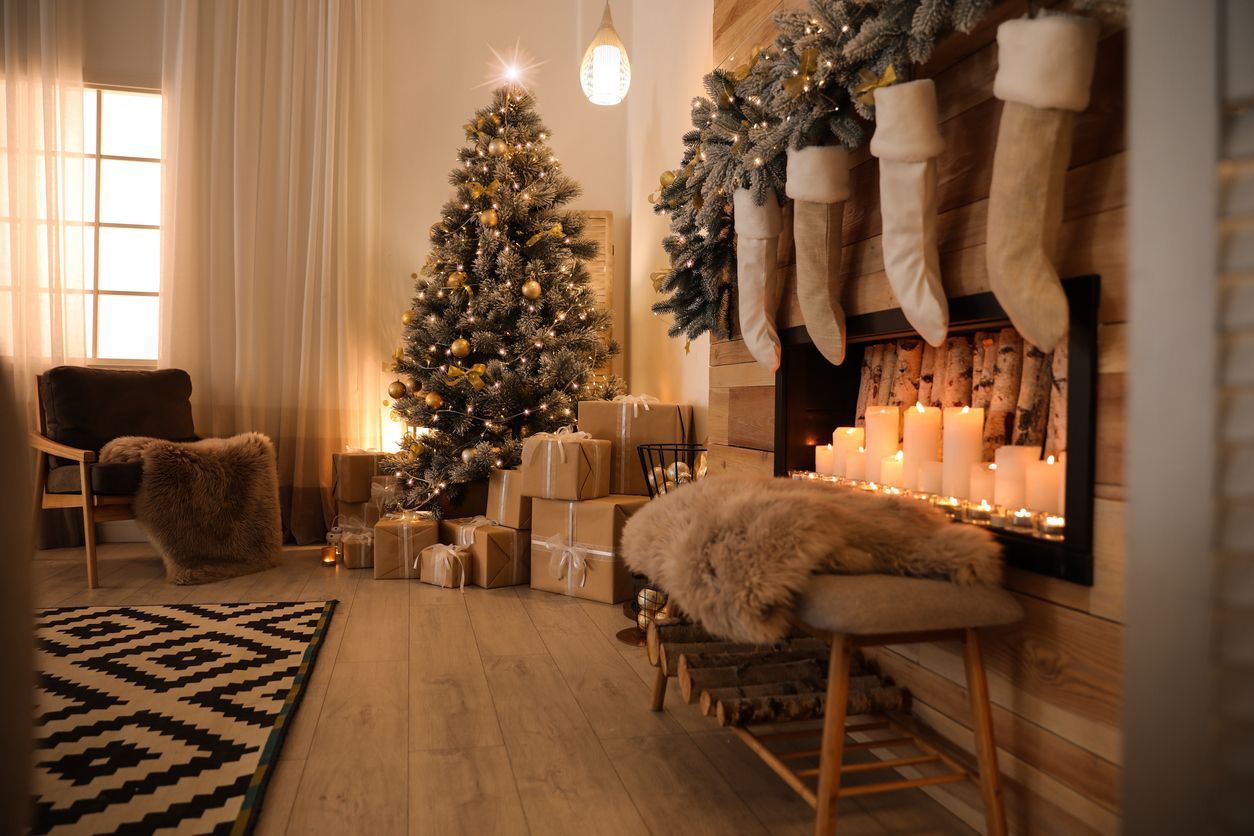
Local Tip for Louisville Homes
In many older Louisville neighborhoods, walls may show cracks or uneven textures due to settling. A thorough prep job is even more important in these homes to ensure your paint finish looks seamless.
Need expert help? Chuck Rader Painting & Remodeling has been serving Louisville homeowners since 1972 with professional prep and flawless finishes. Contact us today for an estimate.